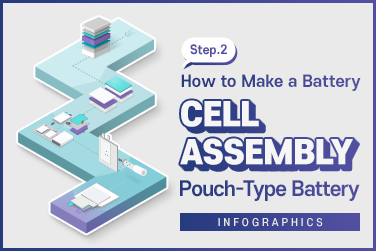
Since we learned about pouch-type batteries last time, we will check out the assembly process of cylindrical batteries this time.
These are safe, mass-producible batteries with the most familiar form to us. How are they produced? Let’s find out with an infographic.
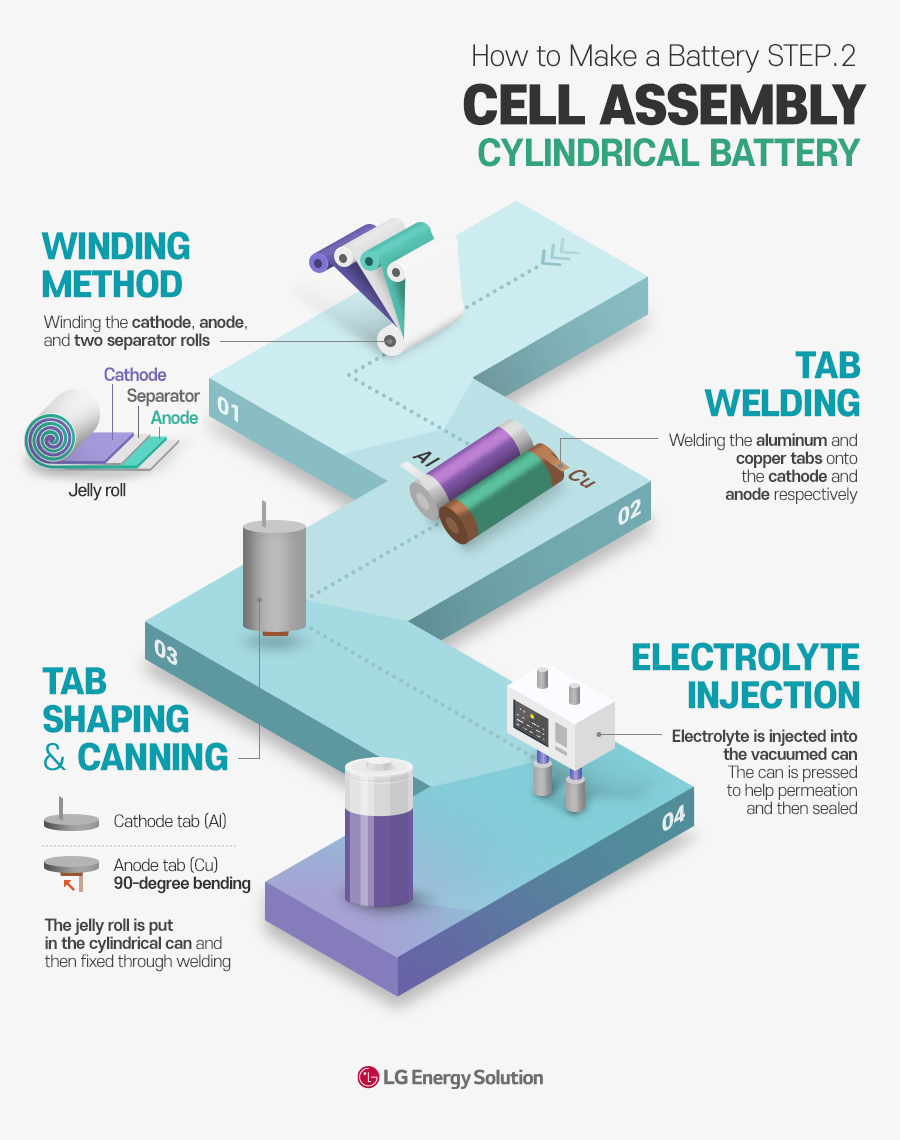
Winding Method
First, a cathode roll and an anode roll produced through the electrode manufacturing process and two separator rolls are attached to a machine called “winder.” Then, they are wound around a mandrel and cut to proper length with the shape of a jelly roll.
Tab Welding
Now that a jelly roll is formed through the winding method, an aluminum tab and a copper tab are welded onto the uncoated parts of cathode and anode respectively.
Tab Shaping & Canning
Next, the jelly roll is placed into the cylindrical battery can. In this process, the cathode (aluminum) tab is bent into a hook shape, while the anode tab is bent at a right angle and welded to the bottom of the can. The cathode tab remains unbent and is welded to the top cap. After welding, beading* is performed to form a crimped groove in the cell, ensuring placement of the top cap later.
*Beading: Resistance welding. Also called spot welding, as the welding beads look like spots.
Electrolyte Injection
The inside of the can is first placed under a vacuum, and a precise amount of electrolyte is injected through a nozzle. Pressure is then applied to ensure the electrolyte thoroughly penetrates the pores of the electrode. Once the electrolyte injection is complete, crimping* and sizing are performed to seal the top cap and can, completing the process.
*Crimping: Sealing the cap by compressing it.
An insulated tube is put on the completed cylindrical battery to separate the cathode and anode and prevent short circuits. The shape of a cylindrical battery as we know it is formed in this stage. Next time, we will examine formation, a step to give electrical properties to assembled batteries.